two weeks ago David and I booked our summer trip to Ischia, Italy and although it's still 2 1/2 months to go I am already so much looking forward to visiting this beautiful island in the Bay of Naples. Usually I'm that kind of person who is all about sightseeing and checking out every monument and little nice cafés and stores but this year I'm especially craving for the beach and of course the sea.
For a veritable holiday at the seaside a girl (of course) needs a bathing suit and as I've had all of mine quite for a few years now I decided that I will help myself to a new one this year. I haven't decided yet but I think I wanna go with a one-piece this time as I haven't worn one for years and I already have a number of bikinis. So yesterday I browsed the internet for cute bathings suits and as I thought that some of you might also be searching for a new one I decided to share some of my findings... :)
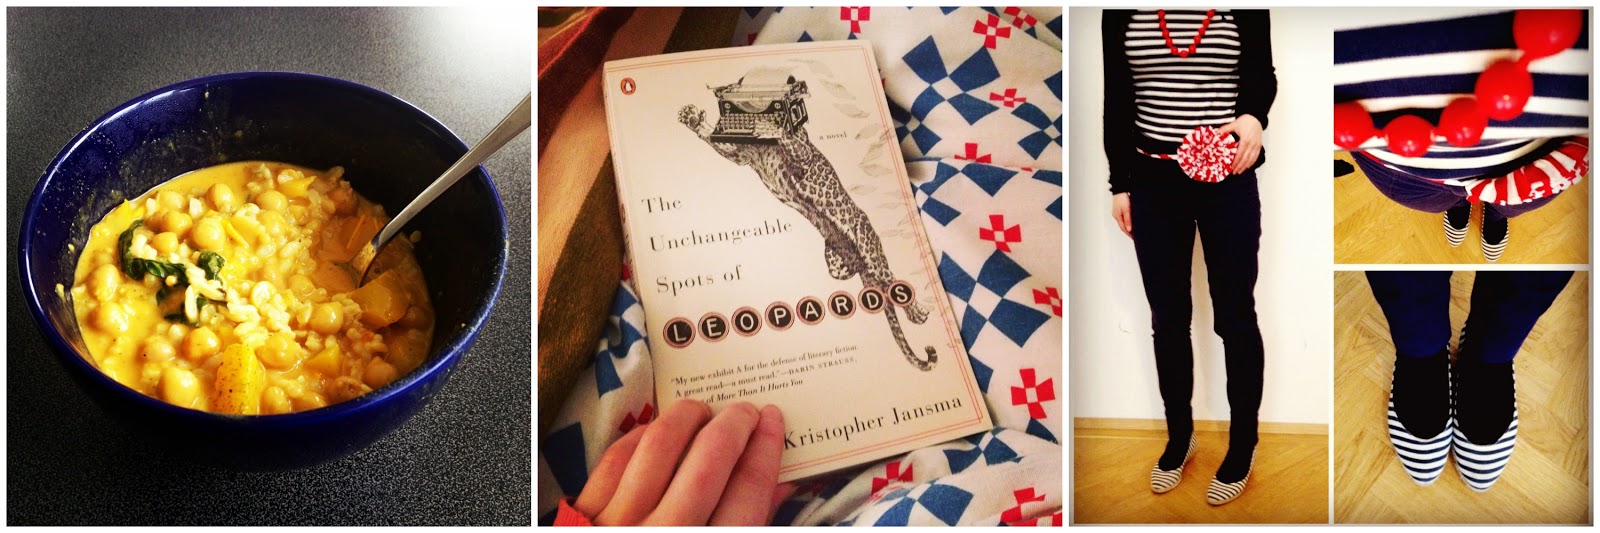
I hope you enjoy such a lovely Sunday as I do! The sun is shining beautifully in Vienna and I've spent most of the day reading. I finished Kristopher Jansma's wonderful book "The Unchangeable Spots of Leopards" today and can really recommend it, if anyone is in search of a good read. :)
Of course beautiful spring days also deserve delicious spring food! That's why I'll share a recipe for a very tasty asparagus quiche with tomatoes and mozzarella today. Yummy!
What you'll need...
...for the dough
100g butter
250g flour
1 egg
a pinch of salt
a little water
...for the filling
ca. 350g green asparagus
3 tomatoes
125g mozzarella
a handful of fresh basil
2 eggs
50g cream
125 ml milk
1 tablespoon crème fraîche
50g grated parmesan
salt
pepper
nutmeg
How it works
For the dough combine the flour with the butter and rub between your fingers until the mixture becomes crumbly. Then add the salt, the egg and the water and knead the mixture into a ball of short pastry. Put the dough into the fridge and let it rest for an hour.
In the meantime wash the asparagus and cut it into 2 to 3 cm long pieces. Blanch them for about 3 minutes. Cut the tomatoes crosswise, blanch them in boiling water for one minute and peel them. Then cut them into cubes. Do the same with the mozzarella and cut the basil into small pieces.
Stir the eggs with the cream, the milk, the crème fraîche and the parmesan and flavour with salt, pepper and nutmeg.
Preheat the oven to 170° C. Roll the pastry and line the baking pan with it (as I don't have an actual quiche dish I used a regular baking dish and that worked just as well). Prick several times with a fork and bake the dough for 10 minutes.
Take out the dough and fill it with the asparagus, the tomatoes, the mozzarella and the basil. Pour the egg-milk-cream-mixture over the vegetables.
Put some aluminium foil on the baking dish and bake the quiche for 30 minutes. Then remove the foil and continue to bake for another 15 to 20 minutes until the quiche becomes golden brown. Take out the quiche and let it cool down for 5 minutes. Enjoy!! :)
Have a wonderful Sunday!
Yours,
Tulip
PS: Music while writing this post: Comedian Harmonists "Wochenend und Sonnenschein" ("Weekend and Sunshine")
do you remember this post in which I introduced the 100 Happy Days challenge and decided to join the challenge? Well it's been one month and a day now and I thought you might want to see some progress... :)
I think I missed one or two days but apart from that I posted regularly
and the pictures really give quite a good overview about what makes me
happy: having a good time with people I love, good food, crafting,
movies, books, making traveling plans, dance, music, a little fashion
and flowers. It's the small things apparently - I'm a lucky one! :)
Have a wonderful, happy evening!
Yours,
Tulips
PS: You can find all these photos also on my Instagram profile here.
Today I want to share my favourite seafood recipe with you. I love Jamie Oliver's version, because the combination of seafood, dried tomatoes and fresh lemon juice just gives it the perfect mediterranean touch :)
Ingredients
455 g spaghetti
sea salt
freshly ground black pepper
extra virgin olive oil
2 cloves garlic, peeled and finely chopped
1-2 dried red chillies, crumbled
400 g seafood (deep-frozen or fresh)
1 small wineglass white wine
2 heaped tablespoons sun-sried tomato puree, or 6 sun-dried tomatoes blitzed in a blender
juice and zest of 1 lemon
optional: 2 handfuls rocket, roughly chopped and/or some basil
I'll just share Jamie Olivers original recipe instructions with you: Cook your spaghetti in a large pan of salted
boiling water according to the packet instructions. Meanwhile, heat 3
good lugs of extra virgin olive oil in a large frying pan and toss in
the garlic and chilli. As the garlic begins to colour, add the seafood
and sauté them for a minute. Add the white wine and the tomato purée and
simmer for a couple of minutes. When the pasta is ready, drain it in a
colander, reserving a little of the cooking water. Toss the spaghetti
with the sauce, squeeze in the lemon juice, add half the chopped rocket,
adding a little of the reserved cooking water if you want to loosen the
sauce a bit, and correct the seasoning. Divide between 4 plates and
sprinkle with the grated lemon zest and the rest of the rocket leaves.
it's still Easter week and therefore I'll bring you another little Easter DIY project: colourful Easter eggs.
To be completely honest with you, this project didn't turn out as originally planned... When I started with the eggs I realised that I hadn't bought self-adhesive crepe tape but only crepe tape and about five minutes later I found out that the colour I had bought didn't cover as well as I had hoped... Damn! But then I decided to simply improvise and I think the result is quite respectable, therefore I chose to share the Easter eggs anyways. I hope you like them as well! :)
What you'll need
blown-out eggs
acrylic paint in pastel shades
paintbrush
gift ribbon (ca. 20 cm/egg)
self-adhesive crepe tape
matches
How it works
The basic idea behind this Easter eggs is to colour just parts of the so that you can still see the natural colour of the eggs. For my first Easter egg I decided to colour half of the egg, therefore I fixed the crepe tape in the middle of the egg.
Then I painted the egg.
As already mentioned I found out really soon that the paint didn't really cover the egg as I wanted. Therefore I decided to give the colour a little structure by making very short strokes with my paintbrush in a regular pattern.
After the colour had dried I fixed the ribbon to the egg. To do so I attached the ribbon to a match by making a knot. Then I inserted the match into the egg.
When you pull the ribbon a little bit the match turns around and with that fix the ribbon.
As you can see above, for my second egg I chose to colour only the lower part it and for my third egg I decided to leave a stripe in the middle.
Easter is approaching! In my family it's tradition to get together on Easter Sunday for a huge lunch at my mum's and usually it's my job to set the table and decorate a little bit. This year I decided to make table cards and a fitting table card holder and as it's Easter I thought that hens may be fitting. Furthermore I wanted to do something with origami so I browsed the internet for ideas and found these great origami hens by Origami Spirit. They are actually boxes which means that you can either put some sweets into them or as in our case a red egg which is an absolute necessity for playing "egg tapping" at the Easter lunch table... ;) What you'll need
origami paper (20 x 20cm)
drawing paper
contour scissors
pencil
triangle ruler
a nice pen
How it works
Fold your origami hens following the instructions of this very good instruction video:
At first the folding took me quite long but once I knew how to fold these little babies properly I needed about 8 minutes for one of them.
For the place cards I used simple drawing paper. I simply drew them on the paper (63,5 x 4 cm) and cut them out with contour scissors to give them a nice frame.
this morning I was in the mood for a sweet little Saturday breakfast, so I decided to make pancakes. But I didn't want to make plain ones, therefore I chose to combine them with bananas and thereby give them a little tropical note. You can also sprinkle coconut flakes over the pancakes if you want them to taste even more like sunshine and beach. ;)
What you'll need (for 2-3 persons)
200 g flour (I used spelt flour)
1 teaspoon baking powder
1 egg
a pinch of salt
milk (I used soy milk and it worked just as fine as with cow's milk)
1 banana
coconut flakes (if you want)
How it works
Separate the egg and whisk the egg yolk, the flour, the baking powder and the salt. While whisking add milk in short sips until you'll get a creamy mixture.
Beat the white egg until stiff and fold it into the mixture.
Heat oil in a pan and fry the pancakes for about 2-3 minutes from every side. Before turning the pancakes put some pieces of banana onto them.
Put some sugar (or honey or maple syrup) and coconut flakes on your pancakes and enjoy! :)
as spring is the time of the year in which the weather can change within minutes and sunshine turns to rain or the other way round I thought it would be nice to put together two springlike outfit ideas - one for warm sunshine weather and another one for rainy spring days. :)
I made both collages with Polyvore, where you can also find all outfit details.
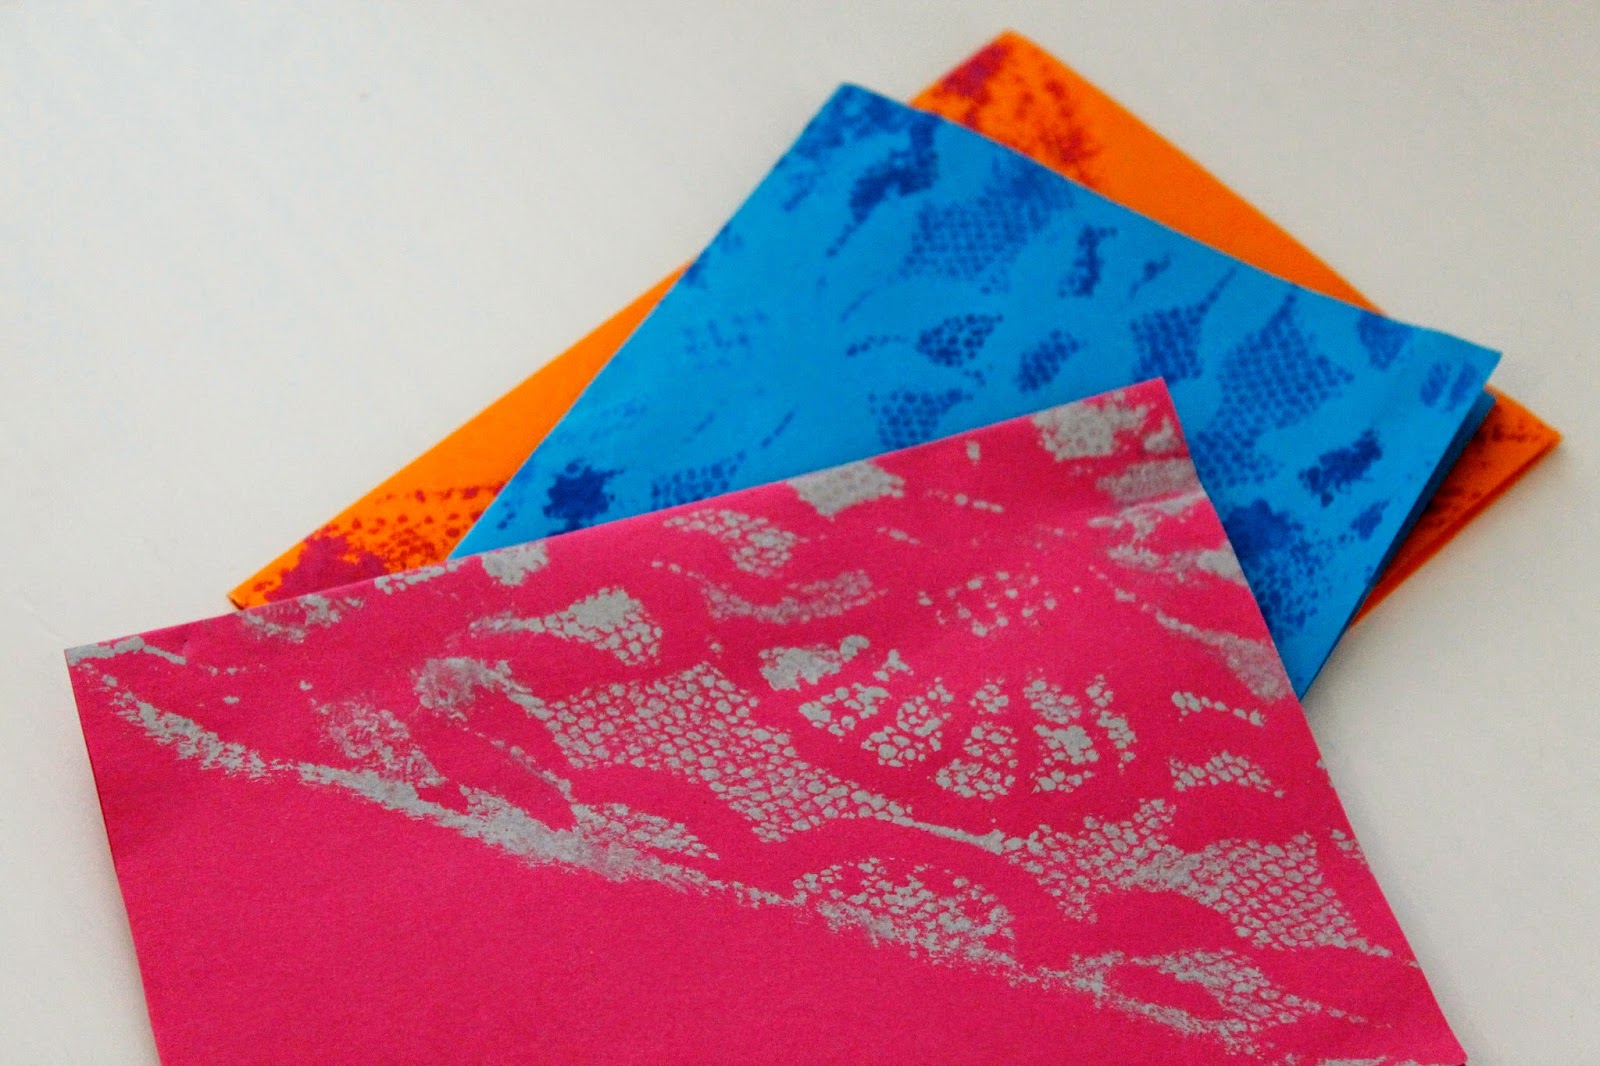
a few weeks ago I rummaged around in my fabric box and stumbled upon a piece of old lace and wondered what I could do with it. I've had a few nice ideas (there is more to come ;) ) but for a start I decided to use a piece of it to create some nice-looking greetings cards. They were very easy to make and most probably you'll also have everything at home you'll need for them (apart from the lace maybe).
What you'll need
coloured paper
scissors
watercolours and brush
a small piece of lace or lace ribbon
paperclips
How it works
Cut out a DIN A5 (148mm x 210mm) sized piece of paper and fold it into half. Take your piece of lace and wrap it around the card. Fixate it with paperclips.
Dip the brush into the watercolour paint of your choice and dap it on the wrapped card.
IMPORTANT: The colour should be as dry as possible, otherwise the pattern will become blurred.
You can also only wrap half of the card or work with lace ribbon to create different kinds of pattern.
this year I got lots of very thoughtful presents for my birthday. One of it was the cookbook that Steffi recommended to you a couple of weeks ago. I got it from her and my lovely colleagues at work :)
As you know, the basic idea of the (unfortunately only in German available) cookbook is, to use everything from veggies and fruits and not throw away so much of its valuable parts.
The first recipe I tried is super simple and a genius idea at the same time: radish leaves pesto!
I always used to throw away the radish leafes, because I had no idea that you can actually eat them. In the original recipe there were also parsley leaves in the ingredients, but i had none at home, so i took basil instead.
Ingredients
1-2 bunches of radish leaves
1 cup of basil leaves (or parsley leaves)
lemo zest
lemon juice of 1/2 lemon
pepper, salt
120ml olive oil
Just mix all of the ingredients well with your blender et voilá - done!
You can enjoy the radish leaves pesto as a salad dressing, with some pasta or as a dip.
do you remember this post here? Last Sunday David and I went to the Steinhof-Gründe again and let me tell you, at spring they are even greater than in Autumn (especially if it's that warm and sunny as last Sunday)... :) This time we entered and left from the other side of the grounds and passed by the Otto-Wagner-Kirche, a beautiful Jugendstil church built form 1904 to 1907 after the plans by architect Otto Wagner.
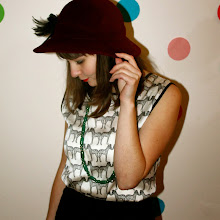
dress: Mela Loves London | coat: velibor | leggings: H&M | headband: muka va |
ballerinas: Marc by Marc Jacobs | sun glasses: Cheap Monday | necklace: vintage |
Hello you lovely people,
Tulip and Lily is a personal lifestyle blog, where I share DIY-ideas, tasty and healthy recipes, as well as fashion pics and stories around places I love.
I hope you enjoy reading!
Yours,
Steffi