Samstag, 12. Oktober 2013

Red Pearls


Hey folks,

I think every girl shoul have a string of pearls but they don't necessarily have to be white... ;)
Therefore today I will show you how to make this great necklace with red pearls and tulle.

What you'll need:
  • 30 red plastic or wooden pearls
  • tulle
  • scissors
  • needle and pins
  • sewing thread
  • sewing machine
How it works:

Start by cutting out a 150 cm long and 6 cm wide stripe of tull.


Fold the stripe in half and pin it so that you get a 23 mm broad tube. Now sew the tube with your sewing machine. (I also tacked it before, but that's not absolutely necessary.)


After sewing the tube together cut the seam allowance as short as possible (approximatelx 3mm).


Now you have to turn the inside out. The easiest way is to fix a safety pin at one end of the tube and to lead it through the tube on the other side.


Afterwards make a knot into your tube (about 15 cm away from one end) and put a pearl into it. After the pearl make a new knot, put a new pearl into the tube and so on...


After the last pearl there should be again about 15 to 20 cm left until the end of the tube. Make a bow with the two loose ends. Done! :)


Donnerstag, 10. Oktober 2013

Yummy! Salmon Filet with pumpkin puree


Hey folks,

last weekend I was really in the mood for pumpkin and fish so I simply decided to bring the two together and make salmon filets with pumpkin puree. That's extremely tasty, super easy, fast and even looks kind of fancy... ;) Yum yum!

What you'll need (for 2 persons):
  • 1 hokkaido pumpkin
  • 3-4  tomatoes
  • dill
  • 2 salmon filets
  • salt
  • pepper
  • soy sauce
  • salad and dressing (if you want)

How it works:

Cut the pumpkin, the tomatoes and the dill into little pieces.


Put everything into a pot and let it boil until the pumpkin is soft. Add salt, pepper and soysauce to taste.


In the meantime you can salt and pepper your salmon filets.


When the pumpkin is done put the salmon into a pan with hot olive oil and fry it until it starts getting brown on every side.


Use an immersion blender to mash your pumpkin-tomatoe mixture. Personally I like it when there are still some pumpkin pieces left in the puree but that's of course a matter of personal taste.


Done! :)
If you want to add some green to your dish, a salad (preferably with some crunchy sesame salt) will fit perfectly.


Enjoy!

Dienstag, 8. Oktober 2013

Colourful fall!


Hey folks,

I really like fall! Not only because there's my birthday in September. ;) I love the warm light on sunny fall days, the colourful leaves on the trees and Sunday movie afternoons, when the weather is cold and grey outside. And I do love autumn clothes! Coats, scarves, hats, boots...you name it! 
Here some pics of one of my current favourite fall outfits - we took them on a nice little walk in the autumn sun.


coat: vintage | scarf: H&M | pullover: birthday present | jeans: American Apparel | boots: vintage | sun glasses: Cheap Monday

Sonntag, 6. Oktober 2013

STAPLE IT TOGETHER...

Good evening folks,

today i made one of my favorite dishes: oven roasted vegetables.
You can make it with any vegetable and vary them from season to season. I’ve tried baking various different veggies this way and so far – they’ve all turned out fab.

Ingredients
  • 1 eggplant
  • 1 beet
  • 2 carrots
  • 1-2 zucchinis
  • 1/2 pumpkin (i prefer hokkaido, because you don't have to peel it)
  • 1 parsnip
  • 4 cloves of garlic
  • a couple of green beans
  • 7 cocktail tomatoes
  • 6 potatoes 
  • olive oil
  • fleur de sal
  • rosemary, chilli, provencal herbs
I didn't put nuts into my oven roasted veggies, but they just fit nicely into that empty corner of the picture ;-))


Directions

1. Cook the potatoes and the green beans and preheat the oven to 200 degrees.
2. Peel the parsnip and the beet and cut all the veggies into slices, peel the garlic-cloves and half them.
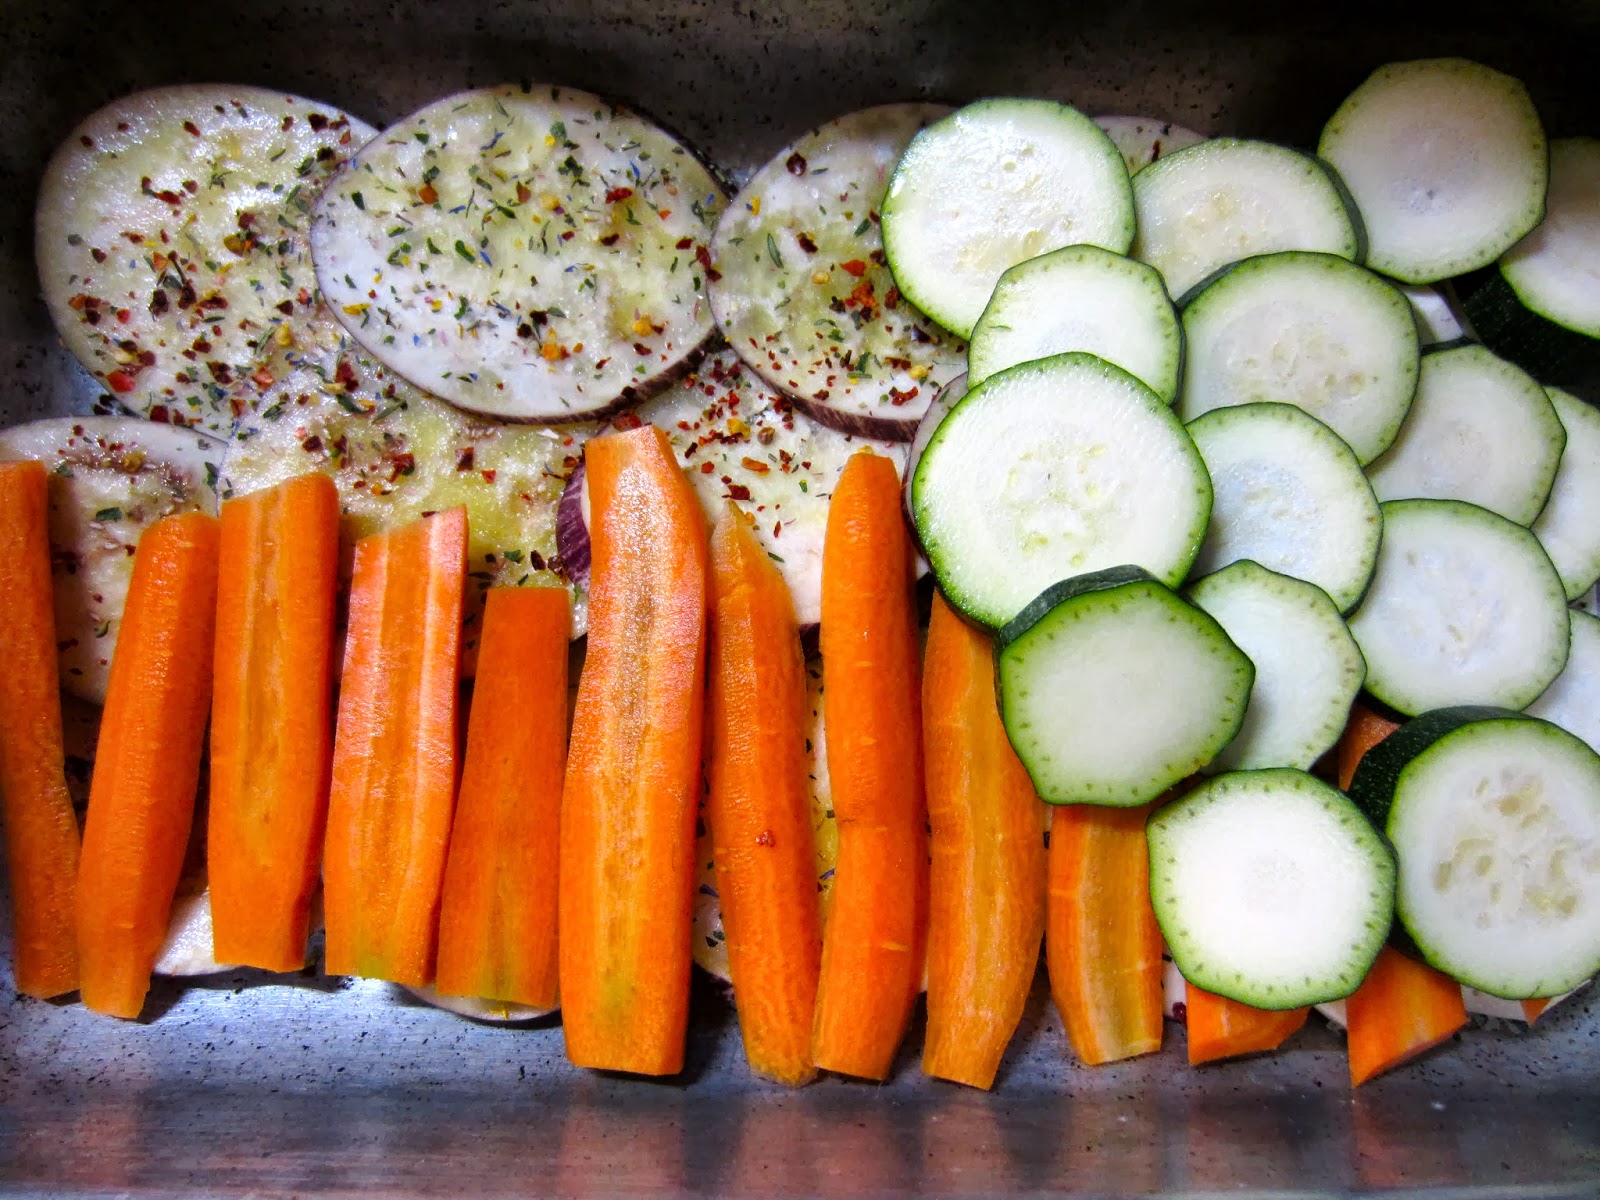
3. Put some olive oil into a baking dish and pile the vegetables into it, starting with the eggplant- and parsnip-slices. Salt them, springle oil over it and add the chilli and provencal herbs. Then go on with the next layer.


4. Put the zucchini- and carrot-slices and the pre-cooked green beans into the baking dish, springle it with olive oil and spread salt & herbs over it.


5. Finally layer the pumpkin- and beet-slices over the veggies and season it with salt, chilli and provencal herbs. Sprinkle oil over it and add the cocktail tomatoes.


6. Put the baking dish and the oven and roast your veggies for about 30 min. Meanwhile bake the potatoes in a pan with some olive oil, butter and fresh rosemary. Don't forget to salt them well ;)


And this is how your oven roasted veggies will look in the end:


A healthy and extremly yummy fall-dish. Bon appétit!


This oven roasted vegetables is one of easy recipe of mix veggies to prepare at home - See more at: http://www.recipedose.com/vegetable/oven-roasted-vegetables.html#sthash.DFdQsDcJ
This oven roasted vegetables is one of easy recipe of mix veggies to prepare at home - See more at: http://www.recipedose.com/vegetable/oven-roasted-vegetables.html#sthash.DFdQsDcJ.dpuf

Pimp up your paperback


Hi folks,

when I went to Portugal last summer I found this wonderful present edition of F. Scott Fitzgerald's "The Beautiful and Damned" with gilt edge pages, a nice book cover and a bookmark. Since then I've been thinking about how I could imitate this at home. Actually I found a quite easy solution, which I want to share with you today. :)

What you'll need: 
  • paperback 
  • gold watercolour
  • bristle brush
  • gift/creative paper (make sure the paper is not too thin)
  • pencil
  • cutter
  • glue (for the bookmark)

How it works:  

Use your bristle brush with your gold watercolour and start colouring the book pages. It's important to press the pages together very hard, otherwise the watercolour may also leak into the book. Colour along the pages and make sure you don't use too much water with your colour in order to prevent the pages from sticking together. 


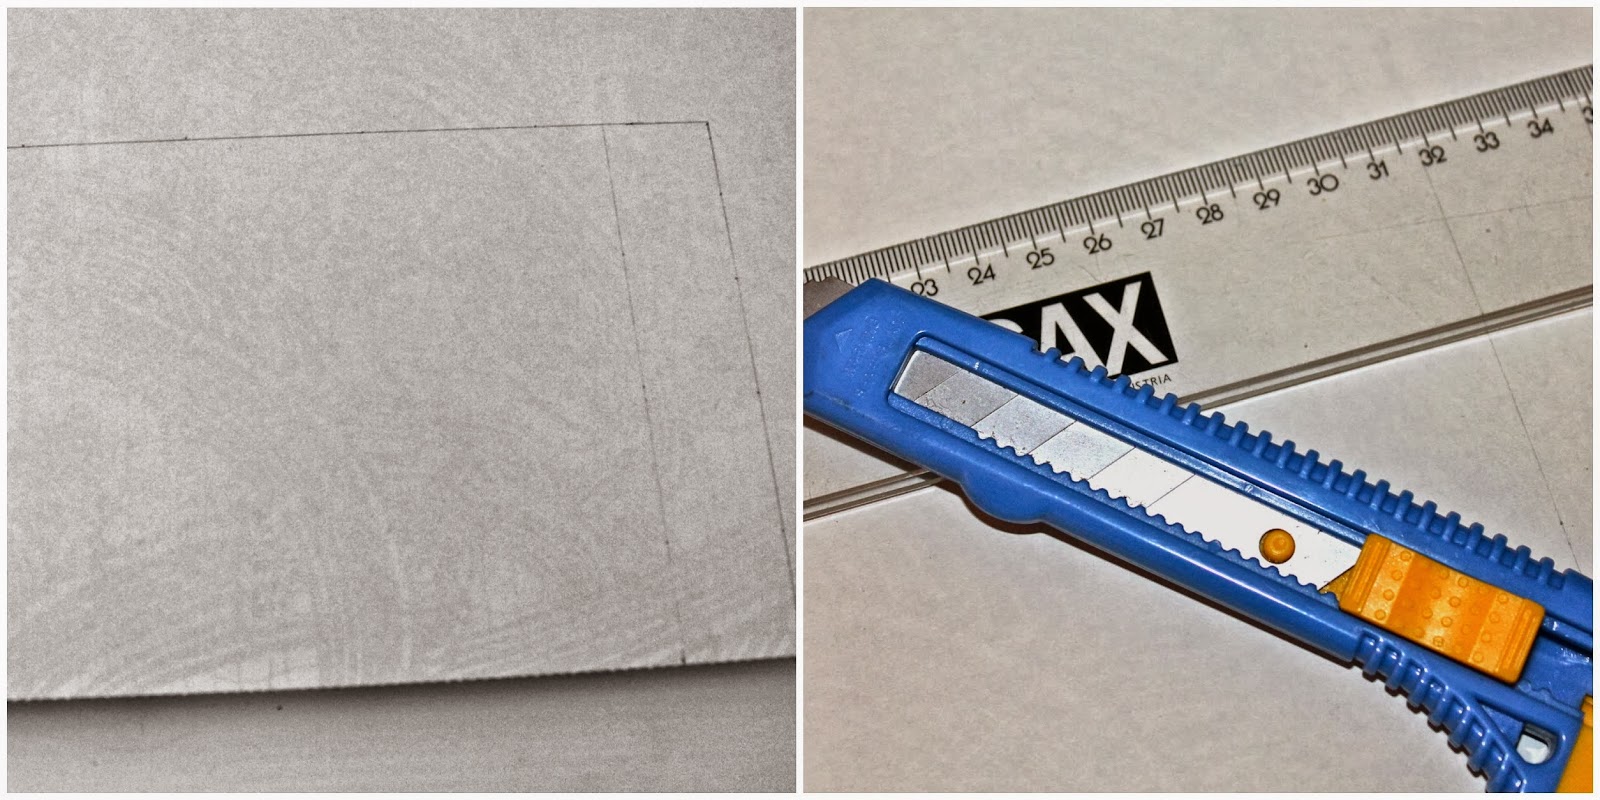
When all the pages have dried, draw the outlines of your book onto the back side of your paper. You'll need 3 to 5 cm (depending on the size of the book) on every long side to fold into the book, so don't forget to include those in your drawing as well. Then cut out your new book cover. :)
Fold in your extra cm on every side and wrap it around your book.


To finish your book project create a nice label with the book title and put it on your book.
If you want you can also make a fitting bookmark. For this I simply used a price tag and glued some more of the gift paper around it.


Done! :)


Related Posts Plugin for WordPress, Blogger...