Posts mit dem Label WRAPPING PAPER werden angezeigt. Alle Posts anzeigen

Samstag, 5. Juli 2014

Gift Wrapping Idea: Tissue Paper plus Twigs plus Colour

Hi folks,

recently I helped myself to a new (beautiful) orchid, which happened to be wrapped in pink tissue paper. In addition two twigs were put in the pot as decoration. Both things, the tissue paper and the twigs, inspired me to a lovely gift wrapping idea that I wanted to share with you. :) It's really easy, but makes quite an impression.

What you'll need
  • tissue paper
  • twigs
  • spray paint in colour of tissue paper
  • glue (liquid)
  • scissors
  • adhesive tape 
How it works

First, wrap your present into the tissue paper.


Then, spray-paint the twigs and let them dry. Afterward cut them into pieces in the size of your choice and use the glue to fix them on your gift.

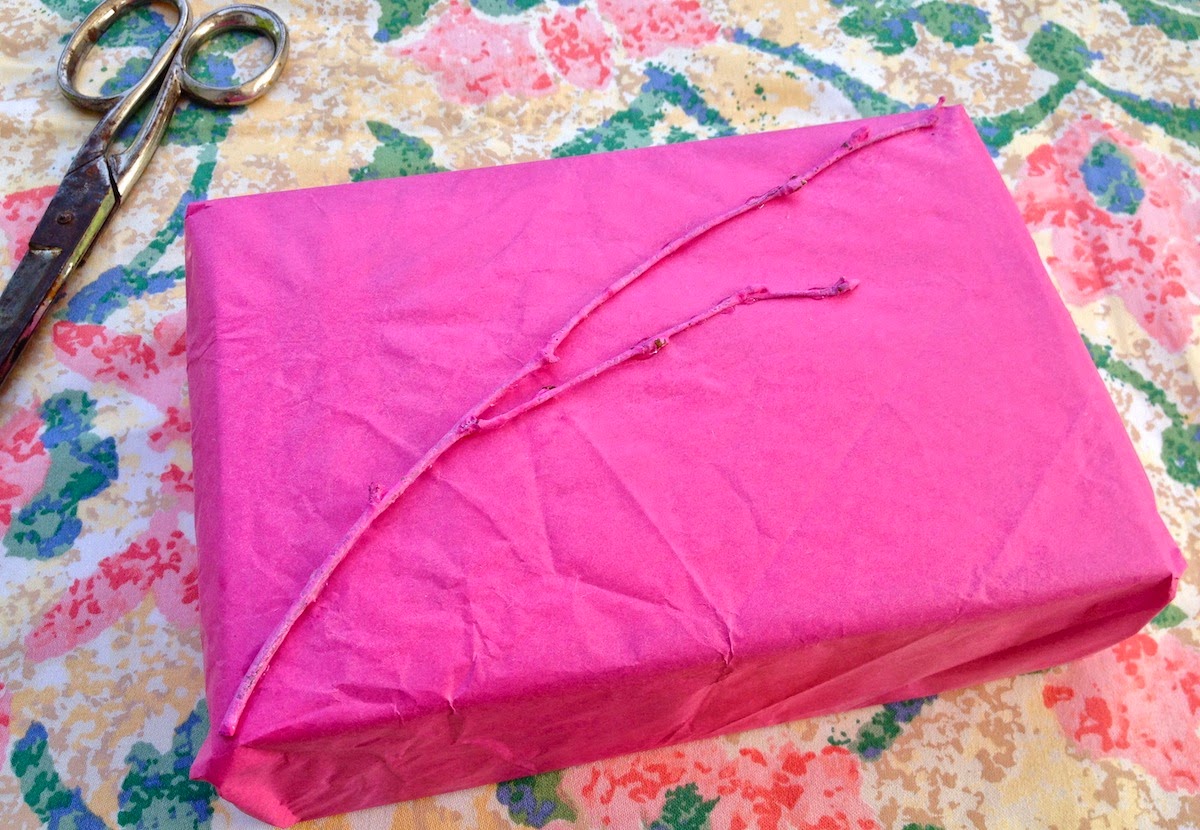

You can glue as many twigs on your present as you like. I chose two per gift to avoid the packages to look cluttered but that of course depends on the size of the gifts as well.


Have a great evening everybody!!

XOXO,
Tulip

Montag, 3. Februar 2014

Gift Wrapper with Origami Swans


Hi there,

as the weather last weekend was rainy and grey I had the perfect excuse to stay inside, watch a bunch of movies and work on some little DIY and cooking projects. Among other things I thought of a nice gift wrapping idea with origami birds. Swans to be exact... :)
As I never really did origami before I was a little uncertain if the actual result would conform my imagination but as it turned out the swans were quite easy to fold, although I did one or two with blank paper before folding the actual wrapping paper.

What you'll need
  • two sheets of matching paper
  • scissors
  • Scotch tape
  • gift box
How it works

Use the first sheet of wrapping paper to wrap your gift box.


Now it's time to fold your swans. Cut out two squares (21 x 21 cm & 16 x 16 cm) of the other sheet of paper and here we go! For instructions I used this really cool video tutorial by BesserBasteln:


Once you've finished your origami birds simply put them on the upside of your package and fix them either with a little bit of glue or some scotch tape.


Done! :)

Have a nice day!

Yours,
Tulip
 All images by Stefanie Reichl
Related Posts Plugin for WordPress, Blogger...