Posts mit dem Label DECORATION werden angezeigt. Alle Posts anzeigen

Montag, 22. Dezember 2014

Happy Holidays Garland


Hello everybody,

on Saturday Silke's and mine annual Christmas tea party took place at my apartment and as always it was lovely. We served scones, cake and chilli, tea and hot punch and of course we also decorated the apartment. Apart from other things (like a Christmas tree for example ;) ) I made a lovely and easy-to-make "Happy Holidays"-garland, for which I used simple green colour paper and an old newspaper. If you don't have a Christmas decoration yet, this garland might be perfect.

Samstag, 6. Dezember 2014

O(rigami) Christmas Tree!

Hello folks,

do you remember the newspaper Christmas tree balls I made last year? Well, as a huge paper lover I  decided to go with paper ornaments again this year. However, instead of cutting and stapling I chose folding this time. Yes, you guess right, we are talking origami ornaments for this Christmas. Among other things I folded classic Christmas tree ornaments and Santa boots and sticked to the classic Christmas colors red, white and green.

Sonntag, 30. November 2014

Branch advent calendar


Hey folks,

it's me - Lily! Long time no see! ;) Today I will show you in a little guest posting my this year's branch advent calendar which was super easy to make.

Donnerstag, 17. April 2014

Colourful Easter Eggs


Hello everybody,

it's still Easter week and therefore I'll bring you another little Easter DIY project: colourful Easter eggs.
To be completely honest with you, this project didn't turn out as originally planned... When I started with the eggs I realised that I hadn't bought self-adhesive crepe tape but only crepe tape and about five minutes later I found out that the colour I had bought didn't cover as well as I had hoped... Damn! But then I decided to simply improvise and I think the result is quite respectable, therefore I chose to share the Easter eggs anyways. I hope you like them as well! :)

What you'll need
  • blown-out eggs
  • acrylic paint in pastel shades
  • paintbrush
  • gift ribbon (ca. 20 cm/egg)
  • self-adhesive crepe tape
  • matches
How it works

The basic idea behind this Easter eggs is to colour just parts of the so that you can still see the natural colour of the eggs. For my first Easter egg I decided to colour half of the egg, therefore I fixed the crepe tape in the middle of the egg.


Then I painted the egg.


As already mentioned I found out really soon that the paint didn't really cover the egg as I wanted. Therefore I decided to give the colour a little structure by making very short strokes with my paintbrush in a regular pattern.


After the colour had dried I fixed the ribbon to the egg. To do so I attached the ribbon to a match by making a knot. Then I inserted the match into the egg.
When you pull the ribbon a little bit the match turns around and with that fix the ribbon. 


As you can see above, for my second egg I chose to colour only the lower part it and for my third egg I decided to leave a stripe in the middle.


Done! :)

All images by Stefanie Reichl

Freitag, 3. Januar 2014

Wonderful Graz

Hello everybody,

I hope all of you had a great start into the new year!!

The weekend before Christmas my boyfriend and I went to Graz in Styria to visit his dad and grandma. She is by the way the coolest grandmother ever and I really hope to be such an open-minded, relaxed and naturally elegant person when I am her age. Of course she is also the best cook, but that's true (I guess) for all grandmothers. ;)
Graz itself is very nice too! I always felt that despite its rather small size (it only has about 266 000 inhabitants) the city has a really urban vibe. There's a lot of culture and art (Graz was European Capital of Culture in 2003), some very cool design initiatives such as the assembly festival and some nice festivals such as the La Strada festival where the whole city becomes the stage for different theater, music and dance performances or the Spring Festival for electronic music. In addition Graz is an old city with beautiful architecture and it's simply a cosy place to spend one's time.

Here are some impressions from our last visit:

My boyfriend's grandmother and dad 

Lunch - Grazer Oma Style
The Grazer Schlossberg with Graz's clocktower, the most famous sight of the city.
During Elevate Festival the place inside the hill becomes a festival location.
Herbert Skerbisch's statue "Lichtschwert" (light sword) next to Graz's opera house
In the old town
Lion on the wall
Jochen Gerz's work of art "Ich Sigfreid Uiberreither" in one arch of Graz's castle gate
Kunsthaus Graz in the dark

Kwirl behind Kunsthalle Graz is a very nice shop where you get interior design objects...

...such as this cool paper owl lamp. Often the things are upcycled or made from ecofriendly materials.

I hope you got some some ideas for your next visit in Graz! :)

Yours,
Tulip

All images by Stefanie Reichl

Sonntag, 22. Dezember 2013

New years morning brunch

Hey,

I can't believe it is allready day 22 of our blog christmas calendar!
Today I want to share some ideas for a nice new years morning brunch with you. I have just moved into a new flat and I'm going to invite my family on 1st on January. I found all images on Pinterest and you can find the original sources plus the recipes here.

I really love this simple table decor idea: just use some packing paper as a table runner (you could also paint some golden dots on it) and spread some confetti over it. For new years eve and morning everything should be sparkling.

          
I think I will serve my family some nice rostbeef sandwiches, freshly pressed orange juice and a warm lentil soup. 2014, bring it on! :)
                   

Samstag, 21. Dezember 2013

Last Minute Christmas Decoration


Hello everybody,

if you haven't had time time until now to decorate your apartment Christmas style I've got a very simple and fast DIY-idea for you that will rock your walls. ;)

What you'll need
  • cardboard
  • pencil or white crayon
  • scissors
  • glue pads
How it works

Write "Merry Christmas" or another Christmassy saying in big letters on your cardboard. 


Cut out the letters.


Put glue pads onto the backside of your letters and put the letters on your wall.


All images by Stefanie Reichl

Dienstag, 17. Dezember 2013

Newspaper Christmas Tree Balls


Hi there,

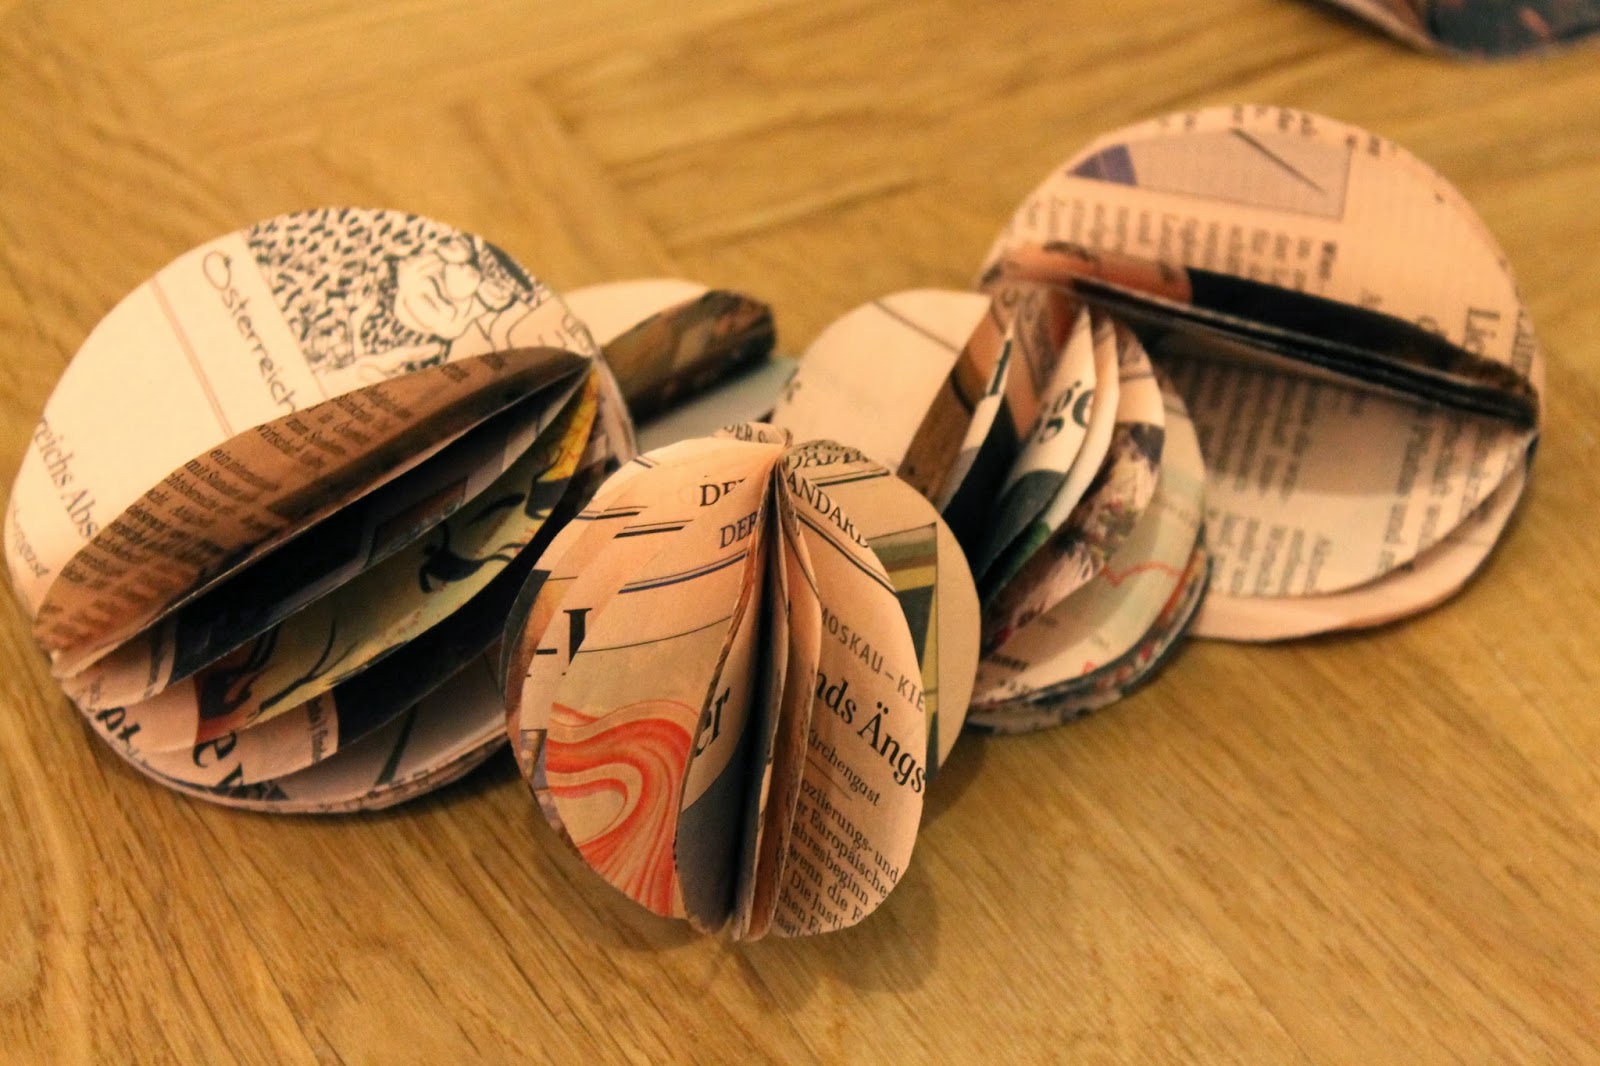
Number 17 of this Advent calender will show you a DIY-idea for your Christmas tree: Christmas Tree Balls out of old newspapers.

What you'll need:
  • old newspaper
  • pencil
  • scissors
  • glasses/cups in different sizes
  • stapler
How it works

Put 8 to 10 newspaper pages over each other.


Use your glasses/cups as stencils and draw different sized circles onto the newspaper paper.


Cut out the circles and staple them them together in the middle of the circles.


Fan out the different layers of the circle until it looks like a Christmas ball. Afterwards you can put little hooks into your Christmas tree balls and hang them on your tree.


If you want a little variation you can also cut out small Christmas trees. This I did last year and it also worked out really well.


All images by Stefanie Reichl

PS: I also shared this project on Kyla's link party at House of Hipsters

Sonntag, 15. Dezember 2013

Christmas Tea With Scones And Sandwiches

Hello everybody,

yesterday my friend Silke and I hosted our traditional annual Christmas tea for our friends with scones with jam and whipped cream, sandwiches, hot punch and (of course) tea. Today I wanna share our scones recipe as well as some other tea preparation impressions with you. :)

What you'll need (for about 15 scones)
  • 450g flour
  • 16g baking powder
  • 2 tablespoons sugar
  • 50g butter
  • 250ml milk
  • 1 egg
How it works

Mix the flour with the baking powder and the sugar.


Cut the butter into small pieces and put it to the other ingredients in your bowl. Levigate the butter with your fingertips with the flour mixture until it gets crumbly.


Put the milk into the bowl and knead the mixture into a (rather sticky) dough. 


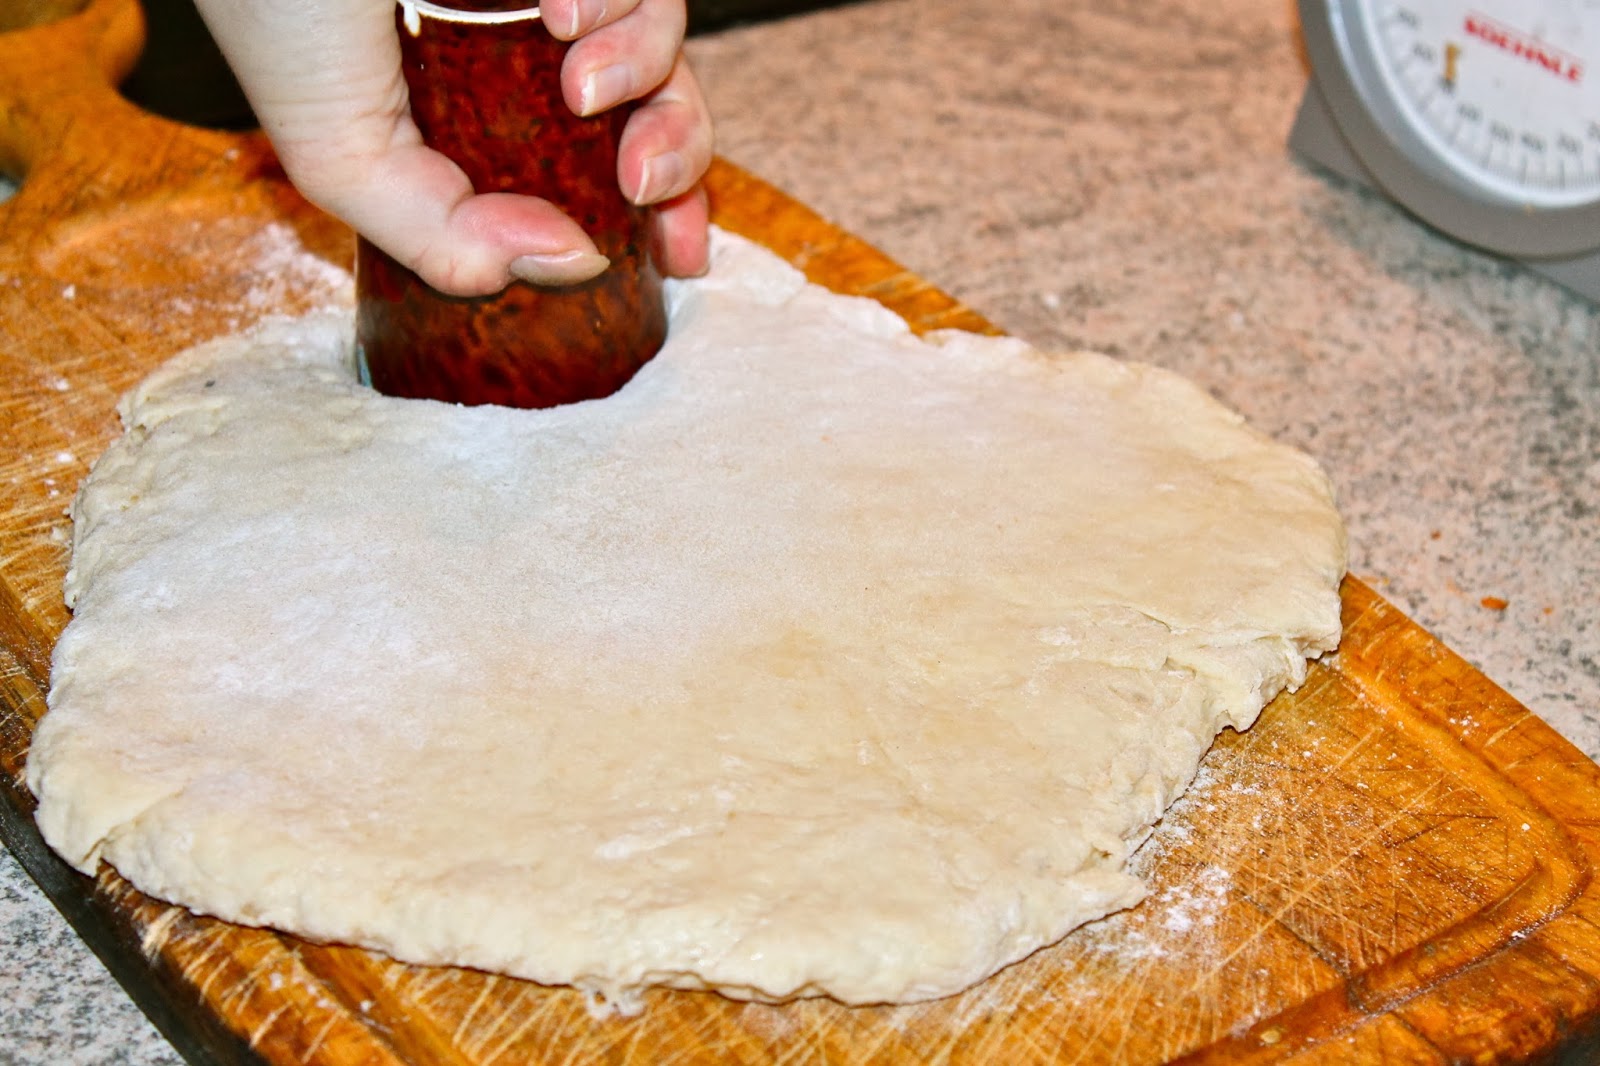
Roll the pastry about 2cm thick and cut out the scones with a round biscuit cutter (about 5cm diameter) or a glass/cup.


Whisk the egg and and coat the scones with it. Afterwards bake them at 210°C for about 15 to 20 minutes.


I addition to the scones we made a variation of sandwiches. Beside ham and egg sandwiches, mozzarella and tomatoe sandwiches, brie and apple sandwiches and butter-cucumber sandwiches we also made tuna salad sandwiches:


As little farewell gifts for our guests we also made Christmas crackers filled with sweets.


All images by Stefanie Reichl
Related Posts Plugin for WordPress, Blogger...